Toggle navigation
Search
Search
Вход / Регистрация
Вход
New Account / View Pricing
Исследовать
360° Video Gallery
Карта Мира
Выбор Редактора
Гигапиксельные панорамы
360° Stereoscopic Panoramas
Learn
CONTRIBUTE
LICENSE
EARN $ FROM YOUR WORK
FREE RESEARCH
Исследовать
360° Video Gallery
Gigapixel Gallery
Curated Sets
Карта Мира
360° Stereoscopic
Выбор редактора
More
Learn
CONTRIBUTE
LICENSE
EARN $ FROM YOUR WORK
FREE RESEARCH
Регистрация/Вход
Вход
Get a new Contributor Account
Get a new Licensing Customer Account
Newsletter
×
Lightboxes
Copy
Create New Lightbox
This Lightbox is empty
×
Saved!
Search Results for @tags newcastle harbour
Keywords
Location
Contributor
Show only licensable content
Show live previews
Search
Keyword Tip: Use quotation marks ("Golden Gate Bridge") to search for an exact phrase.
More tips
.
Панорамы (3954)
Videos (48)
Contributors (0)
[email protected]
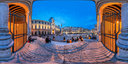
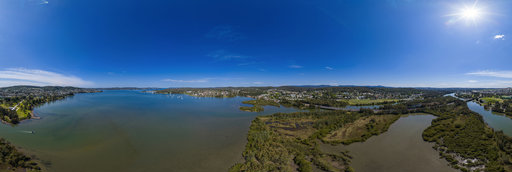
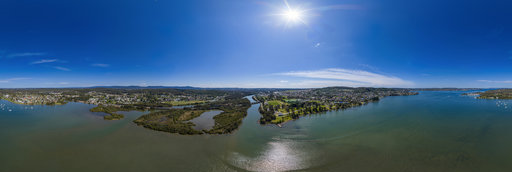
York Breakwater 2 Barry Island
8000 x 4000
Bill Landenberger
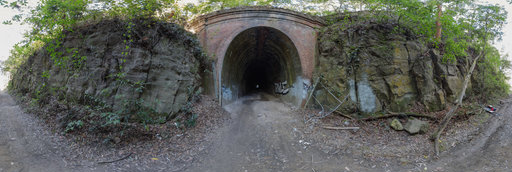
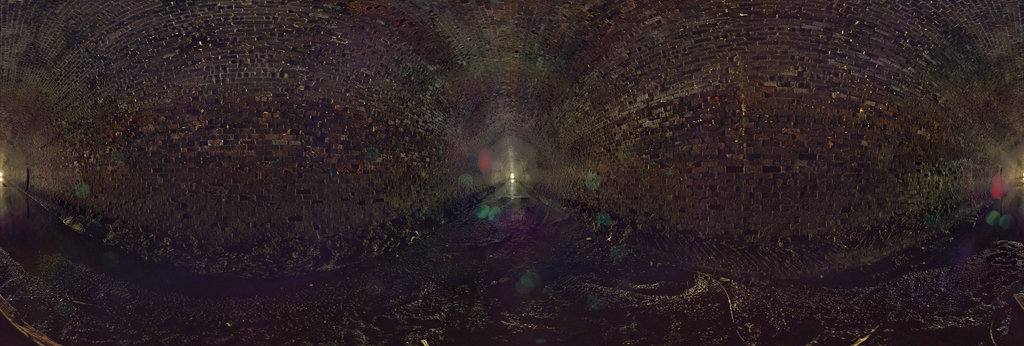
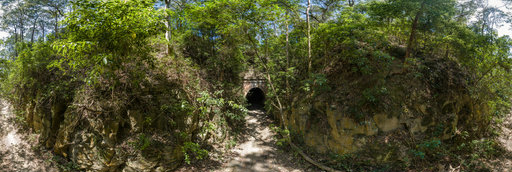
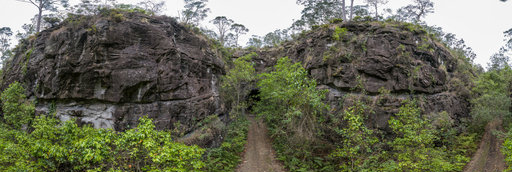
Richmond Vale rail tunnel #1 east end
21260 x 10630
Bill Landenberger
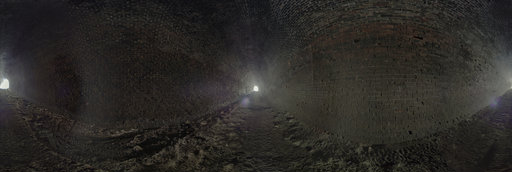
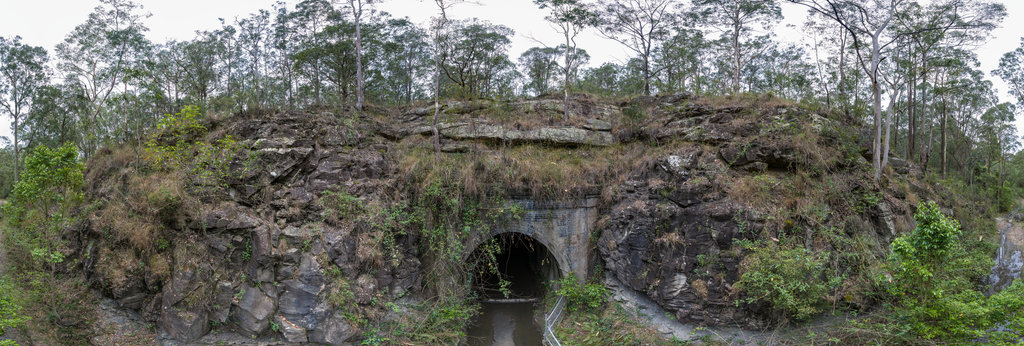
Abandoned railway tunnel
20662 x 10331
Bill Landenberger
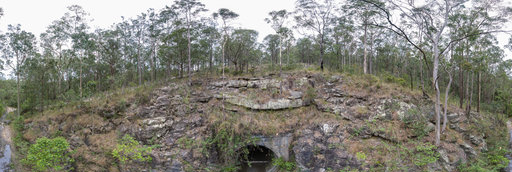
Richmond Vale Railway tunnel #1 western entrance
20650 x 10325
Bill Landenberger
Brown's Colliery 2
32066 x 16033
Bill Landenberger
Brown's Colliery 3
31968 x 15984
Bill Landenberger
Booragul Jetty 3
31934 x 15967
Bill Landenberger
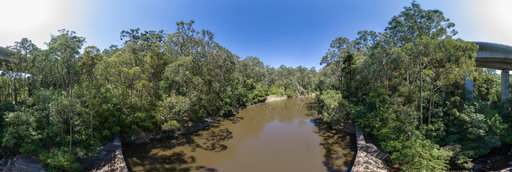
Five islands Footbridge Speers Point end 1
32130 x 16065
Bill Landenberger
Five islands Footbridge Speers Point end 2
32006 x 16003
Bill Landenberger
Five islands Footbridge middle section
32026 x 16013
Bill Landenberger
Cockle Creek estuary
32026 x 16013
Bill Landenberger
Sugarloaf Tunnel
27414 x 13707
Bill Landenberger
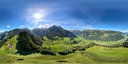
Burrenjim Dam 10 metres above wall
32290 x 16145
Bill Landenberger
Blue Gum Creek Falls and gorge
33164 x 16582
Bill Landenberger
Blue Gum Creek Falls from 50 metres up
32080 x 16040
Bill Landenberger
Burrenjim Dam from one metre above wall
32418 x 16209
Bill Landenberger
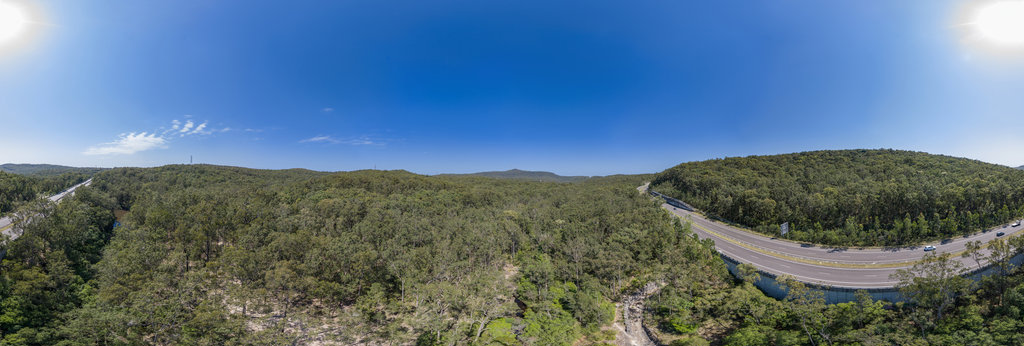
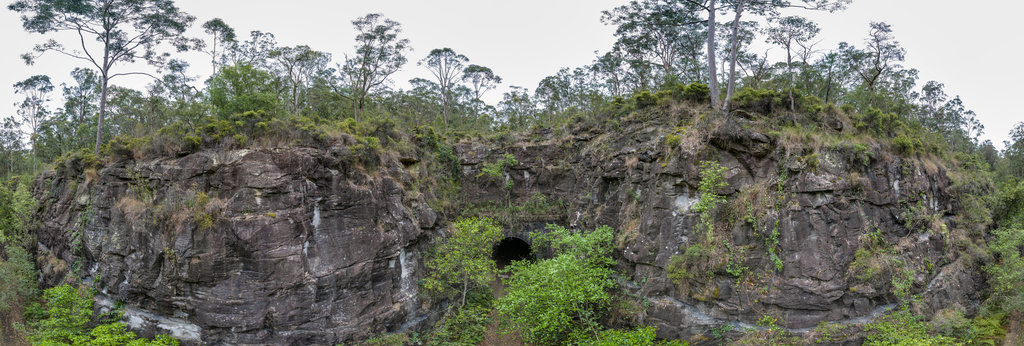
Five metres above Richmond Vale Railway #1 tunnel
32796 x 16398
Bill Landenberger
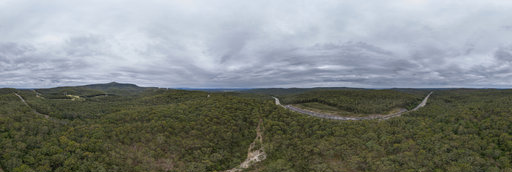
Seven metres above Richmond Vale Railway #1 tunnel
32560 x 16280
Bill Landenberger
Richmond Vale Railway #2 tunnel southeastern approach 1
32538 x 16269
Bill Landenberger
Richmond Vale Railway #2 tunnel southeastern approach 3
32072 x 16036
Bill Landenberger
Richmond Vale Railway #2 tunnel northwestern approach 1
32510 x 16255
Bill Landenberger
Richmond Vale Railway #2 tunnel southeastern approach 2
32200 x 16100
Bill Landenberger
Richmond Vale Railway #2 tunnel northwestern approach 2
32422 x 16211
Bill Landenberger
Richmond Vale Railway #2 tunnel southeastern approach 5
32600 x 16300
← Previous
-
1
-
2
-
…
-
105
-
106
-
107
-
108
-
109
-
110
-
111
-
112
-
113
-
…
-
150
-
151
-
Next →
Cookies help us deliver great service to you. By using this site, you agree to the use of cookies.
OK
Leave this Site